

一、安装
官方网站:
使用虚拟机安装:
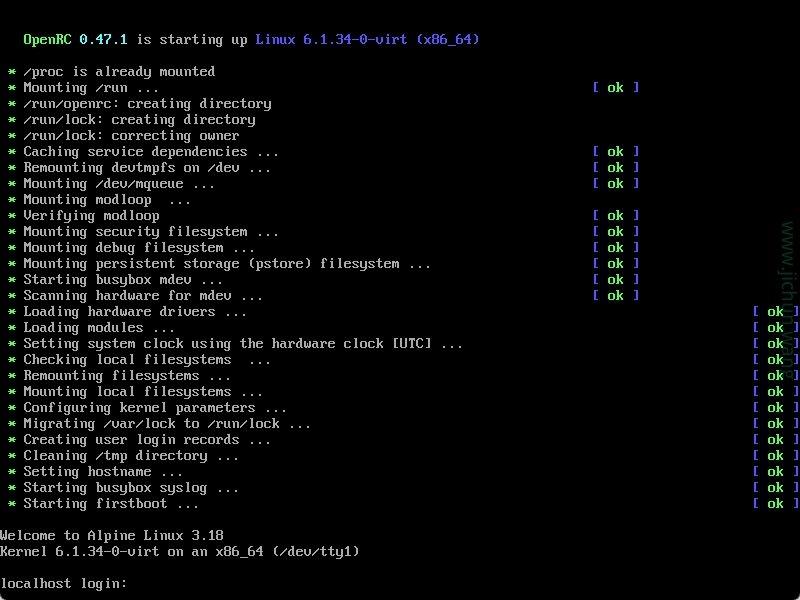
启动后进入:
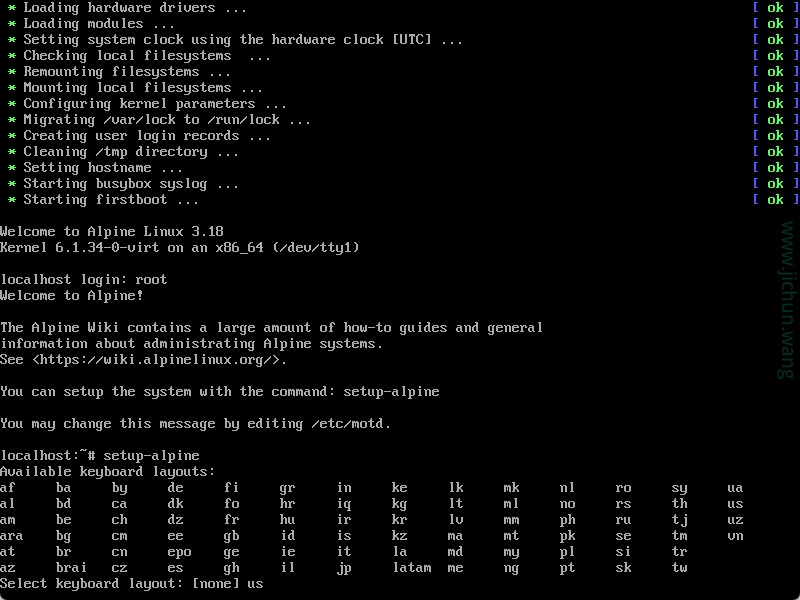
输入用户名:root
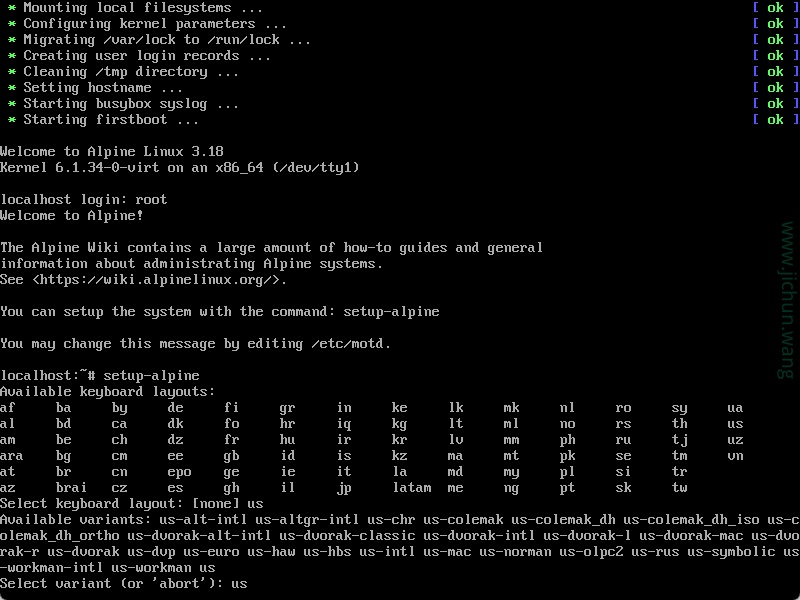
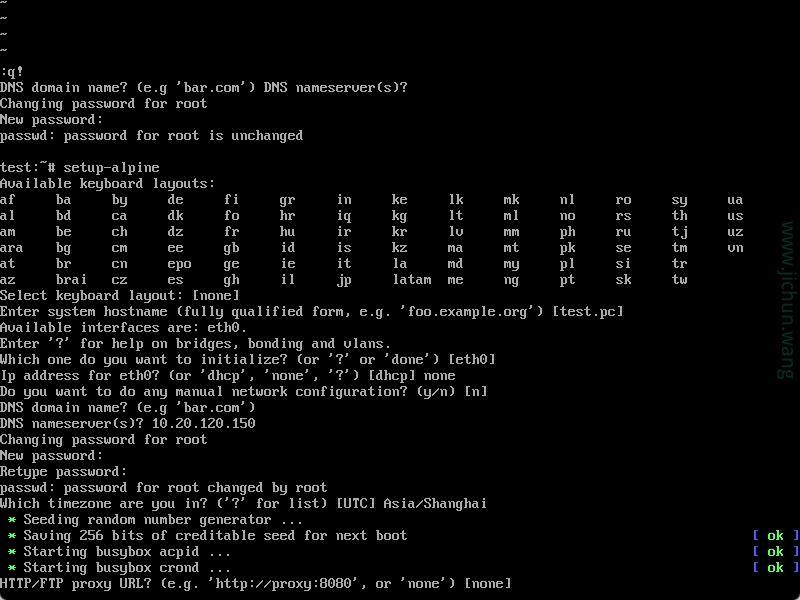
安装系统:setup-alpine,回车后选择键盘布局,这里选择us
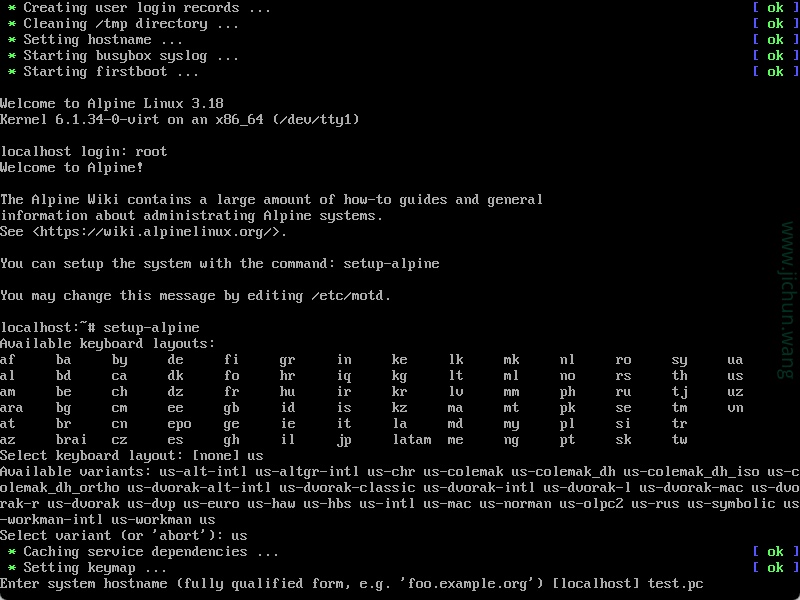
选择变体键盘布局,选择us
输入主机名:
初始化网卡(静态地址配置):
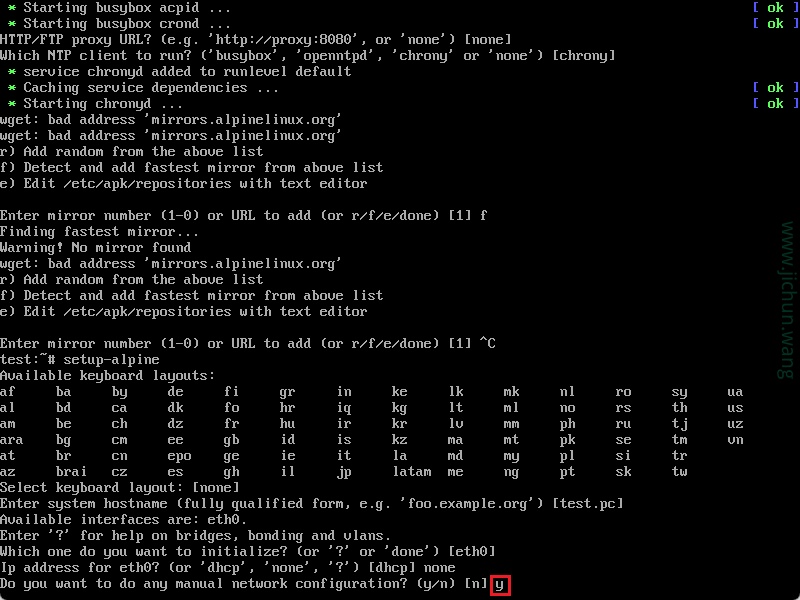
配置IP

auto lo
iface lo inet loopback
auto eth0
iface eth0 inet static
address 192.168.0.147
netmask 255.255.255.0
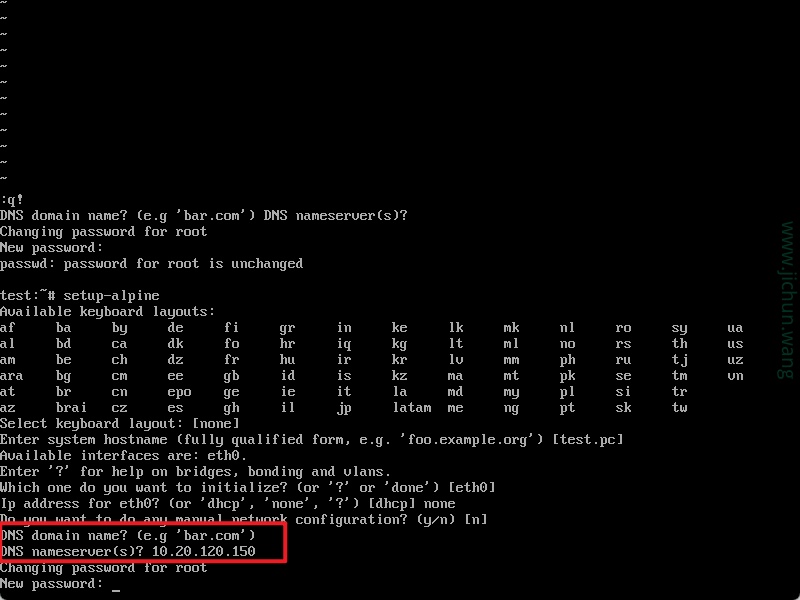
gateway 192.168.0.1配置DNS域名后缀和DNS(第一次配置成dhcp不会出现):
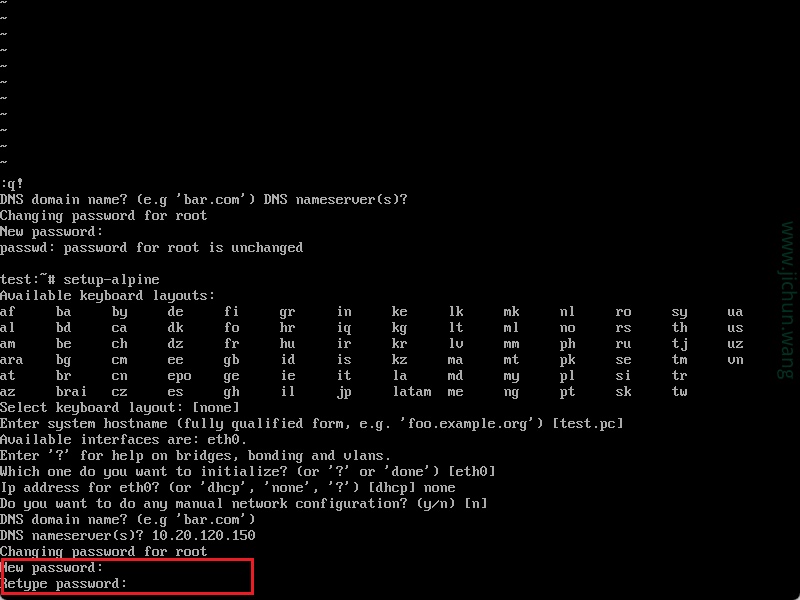
设置开机密码:
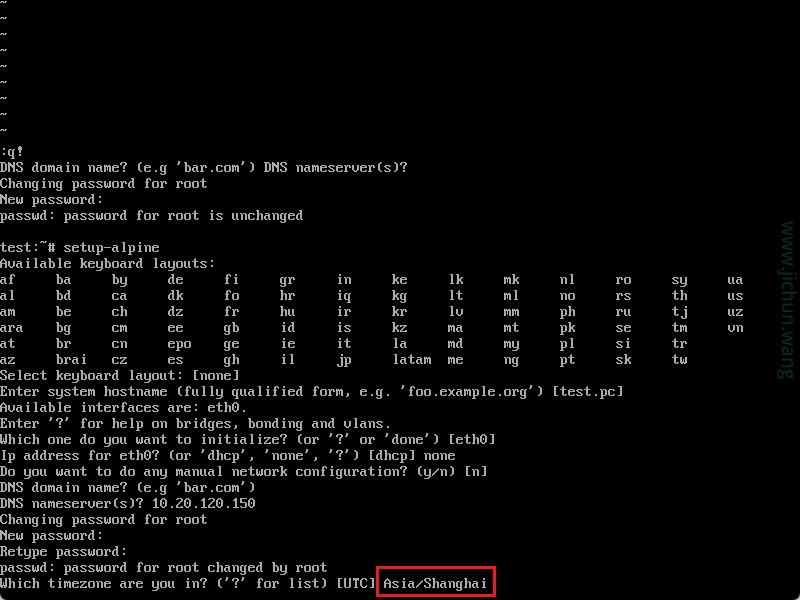
设置时区:
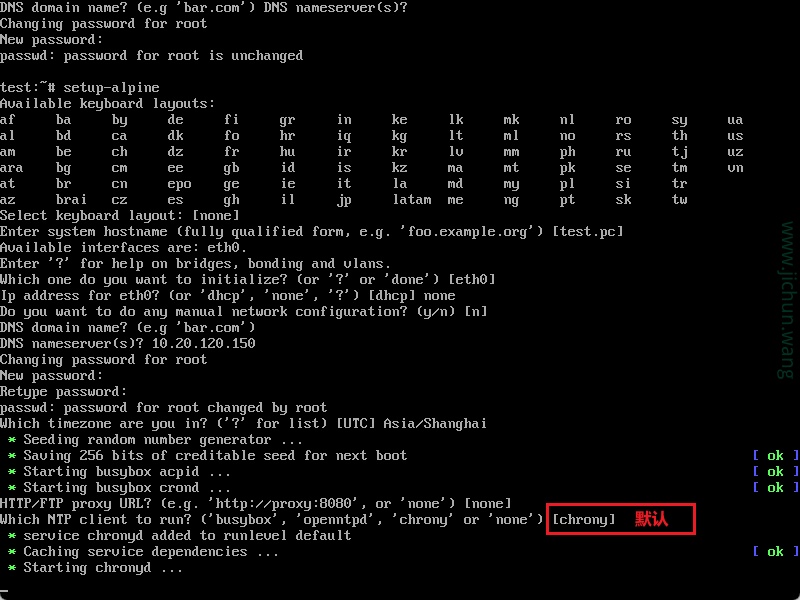
设置上网代理(没有代理直接回车):
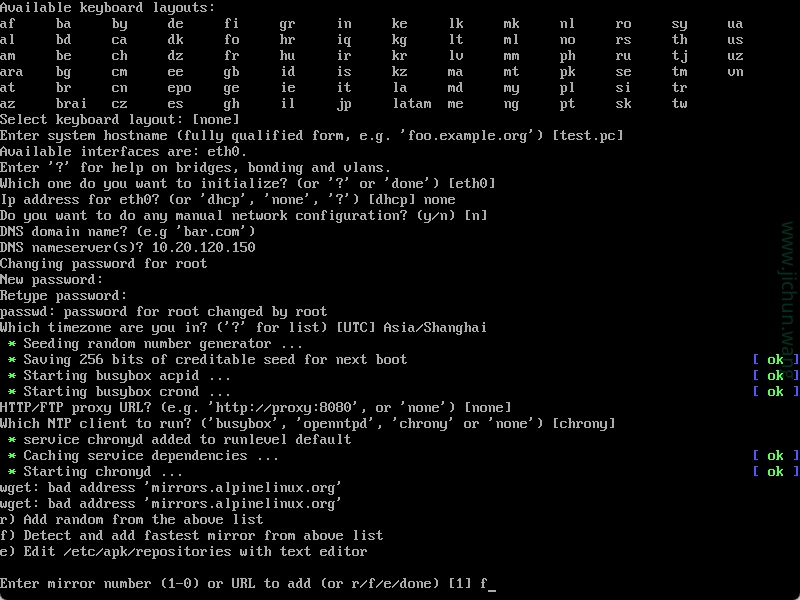
设置NTP客户端:
选择镜像仓库:
使用f,扫描较快的仓库
是否创建用户
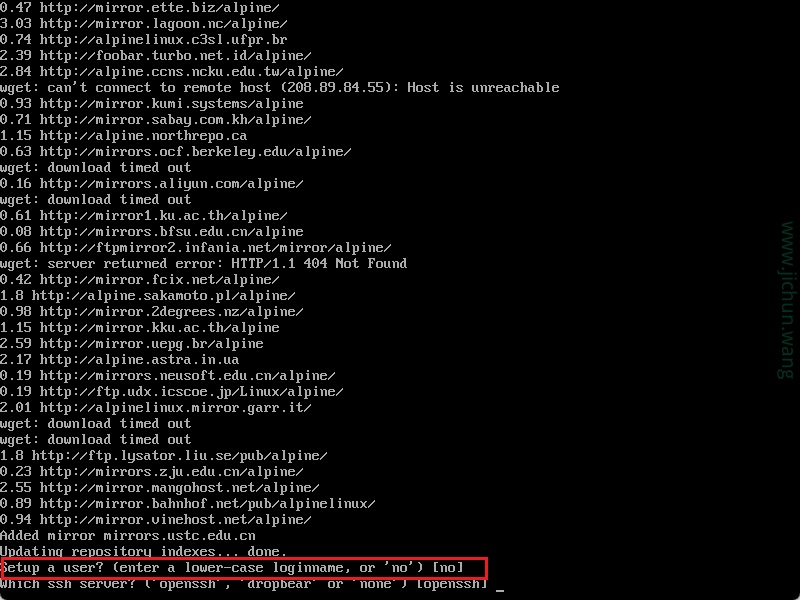
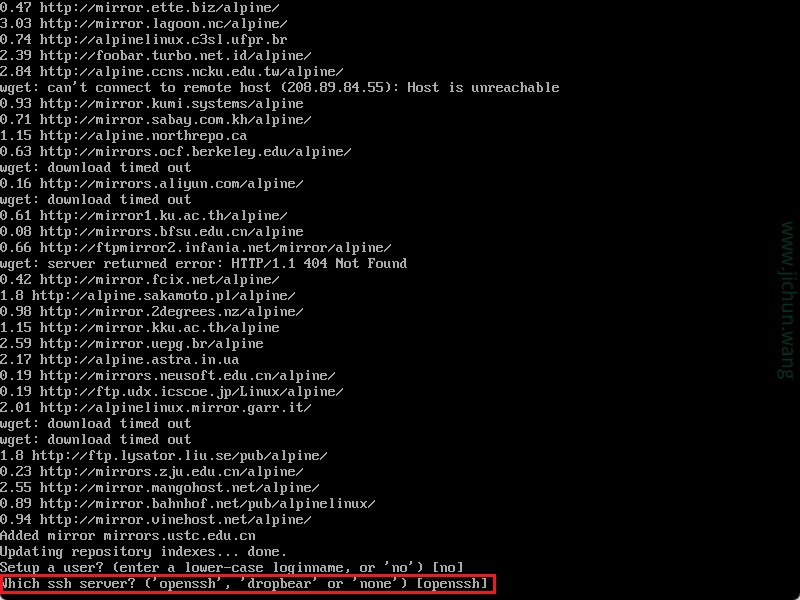
选择SSH服务端:
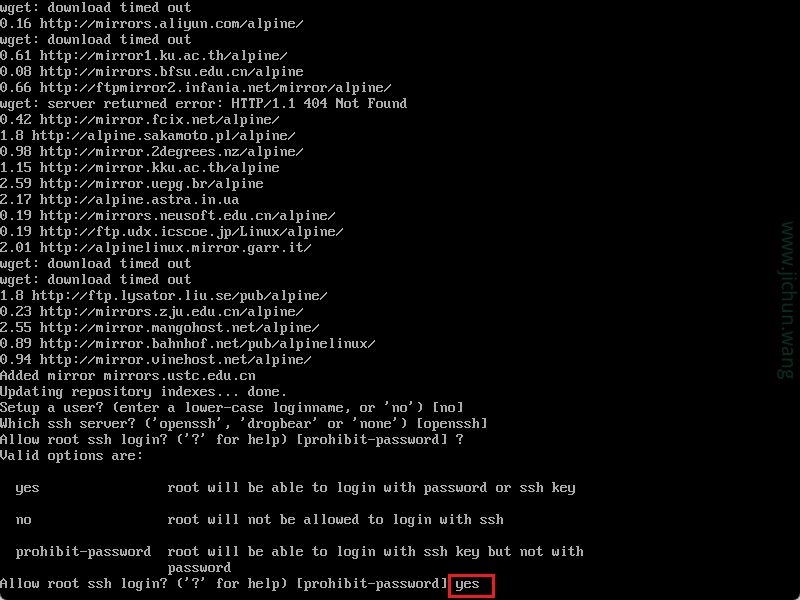
是否允许root ssh登录
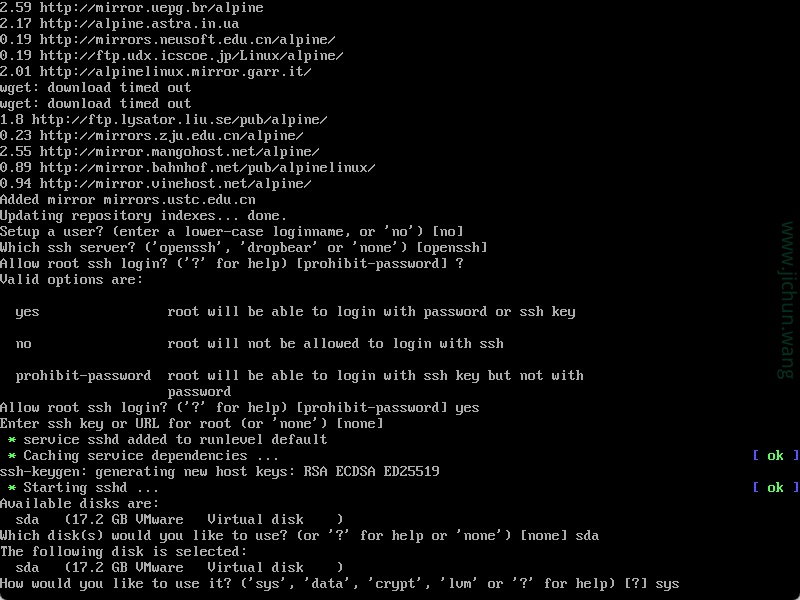
选择安装磁盘:

选择磁盘格式:
sys:传统的硬盘安装,创建三个分区,/boot、交换和 /(文件系统根)。
data:系统运行在内存中但是交换分区和整个 /var目录会创建两个新创建的分区,持久化数据。
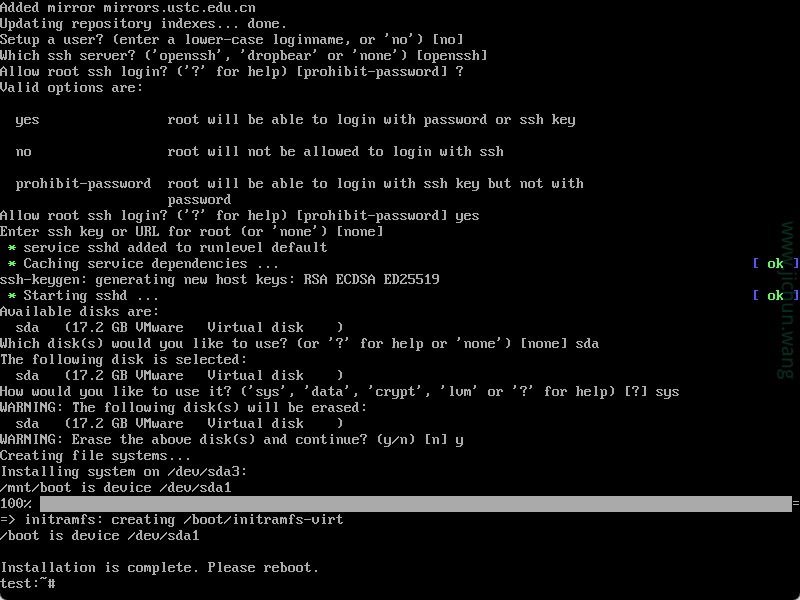
磁盘清空确认:

开始安装

安装完成:
二、网络配置
2.1、修改主机名
echo "shortname" > /etc/hostname立刻生效
hostname -F /etc/hostname2.2、配置DNS
echo 'nameserver 223.5.5.5' > /etc/resolv.conf2.3、IP配置
IP配置文件:/etc/network/interfaces
shortname:~# cat /etc/network/interfaces
auto lo
iface lo inet loopback

auto eth0
iface eth0 inet dhcp
hostname alpinea.IPv4 DHCP配置
auto eth0
iface eth0 inet dhcp
        hostname alpine
b.IPv4 静态地址配置
iface eth0 inet static
        address 192.168.1.150
        netmask 255.255.255.0
        gateway 192.168.1.1
c.网络管理
service networking restart
# OR
/etc/init.d/networking restart
2.4、安装vmtools
apk add open-vm-tools
apk add open-vm-tools-guestinfo
apk add open-vm-tools-deploypkg

rc-service open-vm-tools start

rc-update add open-vm-tools boot
2.5、常用软件安装
telnet
apk add busybox-extrasvim
apk add vimtraceroute
apk add traceroutetcpdump
apk add tcpdump三、修改国内源
配置文件:/etc/apk/repositories
http://mirrors.ustc.edu.cn/alpine/v3.12/main
http://mirrors.ustc.edu.cn/alpine/v3.12/community
四、软件包管理
shortname:~# apk --help
apk-tools 2.10.5, compiled for x86_64.

Installing and removing packages:
  add       Add PACKAGEs to 'world' and install (or upgrade) them, while ensuring that all dependencies are met
  del       Remove PACKAGEs from 'world' and uninstall them

System maintenance:
  fix       Repair package or upgrade it without modifying main dependencies
  update    Update repository indexes from all remote repositories
  upgrade   Upgrade currently installed packages to match repositories
  cache     Download missing PACKAGEs to cache and/or delete unneeded files from cache

Querying information about packages:
  info      Give detailed information about PACKAGEs or repositories
  list      List packages by PATTERN and other criteria
  search    Search package by PATTERNs or by indexed dependencies
  dot       Generate graphviz graphs
  policy    Show repository policy for packages

Repository maintenance:
  index     Create repository index file from FILEs
  fetch     Download PACKAGEs from global repositories to a local directory
  verify    Verify package integrity and signature
  manifest  Show checksums of package contents

Use apk <command> --help for command-specific help.
Use apk --help --verbose for a full command listing.

This apk has coffee making abilities.
安装vim
apk add vim卸载vim
apk del vim查询软件包
apk search vim更新软件索引
apk update--no-cache:禁用缓存安装软件包
apk add --no-cache vim从第三方的仓库安装软件
apk add docker --update-cache --repository http://mirrors.ustc.edu.cn/alpine/v3.4/main/ --allow-untrusted五、基本管理操作
5.1、服务管理
服务启停
service sshd start
service sshd stop
service sshd restart
# 或者
rc-service sshd start
rc-service sshd stop
rc-service sshd restart
5.2、开机启动
rc-update主要用于不同运行级增加或者删除服务。
rc-update add sshd boot #增加一个服务
rc-update del sshd boot #删除一个服务
rc-status 主要用于运行级的状态管理。
nas:~# rc-status
Runlevel: default
 crond                                                             [  started  ]
 chronyd                                                           [  started  ]
 sshd                                                              [  started  ]
 acpid                                                             [  started  ]
Dynamic Runlevel: hotplugged
Dynamic Runlevel: needed/wanted
 sysfs                                                             [  started  ]
 fsck                                                              [  started  ]
 root                                                              [  started  ]
 localmount                                                        [  started  ]
Dynamic Runlevel: manual
5.3、Alpine Linux的运行级别
- sysinit 内存启动模式
- boot 普通模式(常用模式)
- single 单用户模式
- reboot 重启模式
- shutdown 关机模式
修改运行级别
openrc single5.4、开关机操作
reboot #重启系统,类似于shutdown -r now。
halt #关机,类似于shutdown -h now。
poweroff #关机
六、常见软件安装
6.1、mysql
参考链接:https://wiki.alpinelinux.org/wiki/Production_DataBases_:_mysql
安装,这里安装的是mariadb:
apk add mysql mysql-client初始化数据库
mysql_install_db --user=mysql --datadir=/var/lib/mysql

rc-service mariadb start

mysqladmin -u root password toor
6.2、安装nginx
# 安装
apk add  nginx
# 启动
service nginx start
# 开机启动
rc-update add nginx
6.3、安装NFS
安装软件包
apk add nfs-utils设置开机启动
rc-update add nfs修改配置文件:vim /etc/exports
/nfs 192.168.3.0/24(rw,no_root_squash)启动服务:
rc-service nfs startNFS参数解释
rw                # 客户端对共享的目录可读写
ro                # 客户端对共享的目录只读不可写
sync              # 同步模式,也就是把内存的数据实时写入硬盘,但这样会降低磁盘效率
async             # 非同步模式,也就是每隔一段时间才会把内存的数据写入硬盘,能保证磁盘效率,但当异常宕机/断电时,会丢失内存里的数据
no_root_squash    # 客户端挂载NFS共享目录后,客户端上的root用户不受这些挂载选项的限制,权限很大
root_squash       # 跟no_root_squash相反,客户端上的root用户受到这些挂载选项的限制,被当成普通用户
all_squash        # 客户端上的所有用户在使用NFS共享目录时都被限定为一个普通用户
anonuid           # 上面的几个squash用于把客户端的用户限定为普通用户,而anouid用于限定这个普通用户的uid,这个uid与服务端的/etc/passwd文件相对应,如:anouid=1000
                  # 比如我客户端用xiaoming这个用户去创建文件,那么服务端同步这个文件的时候,文件的属主会变成服务端的uid(1000)所对应的用户
anongid           # 同上,用于限定这个普通用户的gid
七、docker中使用alpine
拉取镜像:
https://hub.docker.com/_/alpine?tab=tags
docker pull alpine
评论一下吧
取消回复